So, because going through chemotherapy just wasn't enough for us, we decided to put our house on the market right in the middle of it! I know. Great idea huh?
Our house was actually on the market for a few months during the fall of last year, and right when I was diagnosed, we decided to take it off the market because it was just too much, and our minds were pretty much swirling already. So this spring was pretty much our last chance to try to move before Emma started Kindergarten. The public schools where Emma would go if we stayed is rated a 3 out of 10, and between that and some other not so great things about our neighborhood we decided we would do what we could to get out (just in case though, we registered Emma for a private Catholic school just in case)! But, our luck finally changed, and the week we finished chemo, we went under contract on our home and just about two weeks later, we went under contract on our soon to be new home!
So if all things work out (and I'm holding my breath until the very last paper is signed), in less then a week, we will be moving from here....
...to here!!!
We actually had a hard time finding a home this go around, there just didn't seem to be as much on the market as there was during the fall. But just in time, we stumbled upon this guy. Four bedrooms, three and a half baths, finished basement, just under 1/2 acre, attached garage (woo hoo!) and a lot of needed updates! Wanna come on a tour?! These are all pictures that I took during our home inspection. So all the "stuff" in the house is the seller's stuff.
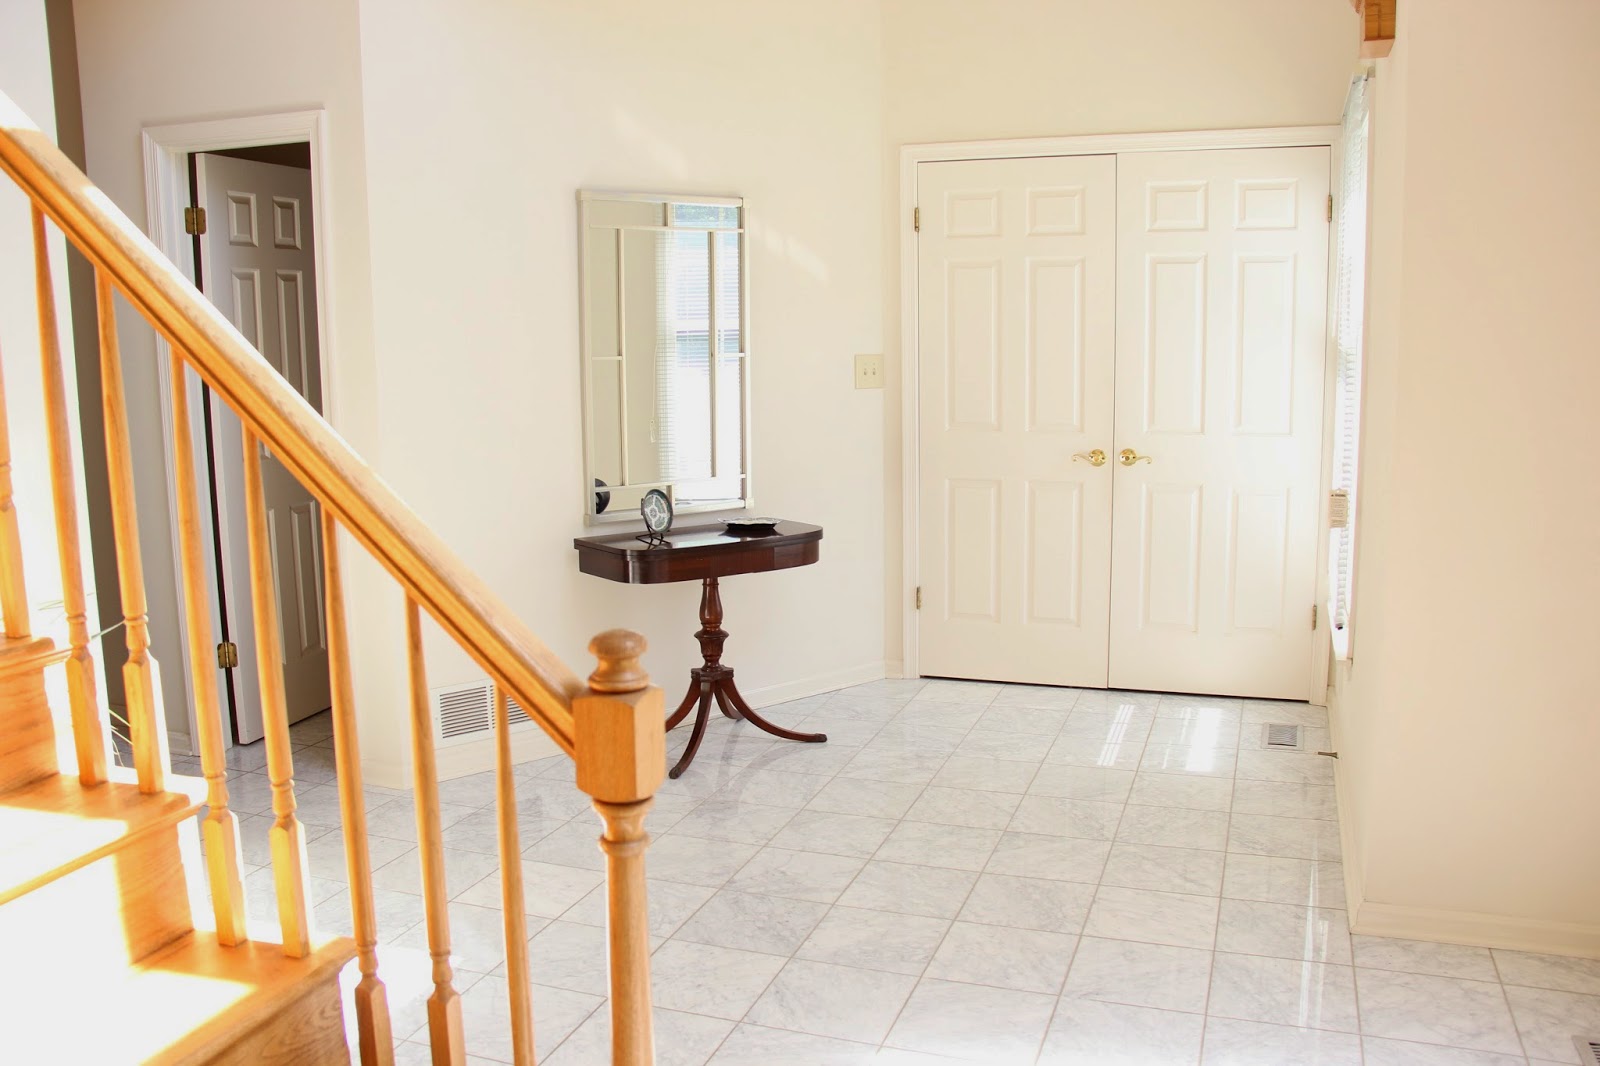
First up after walking in the front door, you come to one of my favorite places of the house. I don't know what it is about the entry, but I just can't wait to figure out a plan and make some updates!! Its a nice big entry, with a much bigger foyer closet then we have now, and a lot of room ready for a fancy Christmas tree (right honey?!!?). Neither Wes or I are crazy about the floor, but maybe we will change our minds once we are in and settled and making some updates. I just love the bright entry!
The steps are immediately to your left (that's the door to the finished basement on the right of the picture). That little plant in the perfect Christmas tree spot!
Here's the view if you look up! I love the big entry but I more love the fact that it's not SO BIG that it takes a lot of space out of the bedrooms upstairs. Our upstairs hallway is actually pretty small but works for me because I'd rather have the space in the bedrooms.
Directly to the left of the foyer is the living room, or in our world, the new playroom. :) Typical standard living room, but it has two windows so it's nice and bright and already has crown molding. I can already see door casings in the works!
If you walk through the living room, you walk right into the dining room which is another room I can't wait to update! Probably because its a pretty blank canvas and will be pretty cheap to update! It has a big bay window in the back, which makes for another bright room. It's also a good deal bigger then our current dining room!
Both the dining room and the foyer connect to the kitchen. We are actually losing some cabinet space in this room but the eventual plan will be to update this space, add some more cabinet space and hopefully a much bigger island! The current island is tiny! I absolutely love the big windows above the sink though. The appliances are a bit old but all stainless steel so definitely livable for a while. There is a double-door pantry to the left and a breakfast area to the right.
Here's a view looking the other way in the kitchen. Thank goodness the side counter is a good size because that island is about the size of a bathroom sink! The current plan for the cut out on the right (where the sellers have a big hutch) is where we will store our desk and computer so Wes will have a place to work. Eventually I'd love to add some more cabinet and counter space and maybe a little bar area!
Right next to the kitchen is a eating area, with another bright bay window! I can't wait to sit down for our first breakfast and family dinner here!
Continuing on after the breakfast area, we head right into our new family room. I am already losing sleep over how in the world to decorate that giant wall on the right!! The double doors on the left lead out to our new (old) deck! Of course I forgot to take pictures of that though. Doh! I am really looking forward to having a wood burning fireplace. Not that flipping the switch of our current fireplace isn't easy haha, but I remember that warm, crackling sound as I grew up. That sound on Christmas morning, the smell of cooking hot dogs over the fire with my Dad and just laying right in front of that warm fire watching TV. Nothing like it in the world!

Across from the eat in area in the kitchen is an actual laundry room! You don't know how excited I am to have an ACTUAL laundry room! Right now, our washer and dryer are in our unfinished basement. So no laundry storage, our clothes that can't be put in the dryer hang in our stinky, dusty basement, and to do a load of laundry, we have to walk up and down two stories. This room will also take care of the mess that we make when walking inside. Right now, our back door leads right into our eat in kitchen, so snow shoes, mud, rain shoes, sandy feet, etc all lead right into our kitchen. Well, no longer! There is actually a pretty large area right past the washer and dryer here which I am thinking about making some "mud room" organization. So much promise for a cool room here!

If we back track a little bit to the foyer and head through the hallway towards the kitchen, off to the right is our new powder room. Nothing fancy here, pretty standard with a toilet and boiler plate pedestal sink. Its about twice the size of our current powder room so that's good, but hopefully another cheap one to update!
Here we go upstairs! All four bedrooms are upstairs, nothing too crazy here, standard bedrooms. This is the room that Emma originally wanted. We actually settle on her 5th Birthday so we told her that she gets to pick her room first. As long as it's not the master. :) So we will see if she picks the same one that she did before!
Down the hall is the soon to be kids bathroom. I wish we could do a complete overhaul of this one, given the gnarly tile on the floor and bath tub from 1974 but this will have to wait a few years probably. The sink, bathroom counter and faucet were upgraded already so at least it's a start!
Another bedroom. I think the is the smallest of the four. Jack gets to pick his room after his big sister so we will see which one he wants!
Onto the third bedroom, and the biggest out of bedrooms (outside of the master). This room is a little darker because it only has one window, but overall just a standard bedroom!
Down the hall we get to the master! It's not huge by any means, but plenty big for us and definitely an upgrade for what we have now. The ceiling slopes up so we have another huge wall to decorate! Ack!
To the right of the master bedroom is probably the worst room in the house. And by worse I mean outdated. The sink area is separate from the toilet, shower and tub area and that's not too bad since the counters and faucets have been upgraded already. Directly across from the sinks is our master closet. Kind of an odd spot for a closet, but I guess it makes our room a little bigger. We will see how that works out!
Here's are nice tub, all filled up and ready for a bath. ACK! During our home inspection, we found a faulty (i.e. old) hot water heater. Which remains as our biggest contention point with the sellers who originally claimed it was just because of a dirty tub. Um. Not so much. You take a bath in the water and then let me know what you think seller. kthanksbye.

Now lets head two floors down to the finished basement. Most folks these days have finished basements but this is one of the things we are most excited about! Much more space! Once and a while Wes likes to have a buddy over to play their beloved PS4. In our current house, there is no where for them to go where they won't wake up the rest of us! They constantly have to be quiet, and as much as they try, because of our home now, I can hear them all night long. I'm surprised the kids don't wake up more either! So I am sooo looking forward to the first time Wes's friend comes over in the new house and there are multiple doors and floors separating us! Not that I don't love you babe! :)
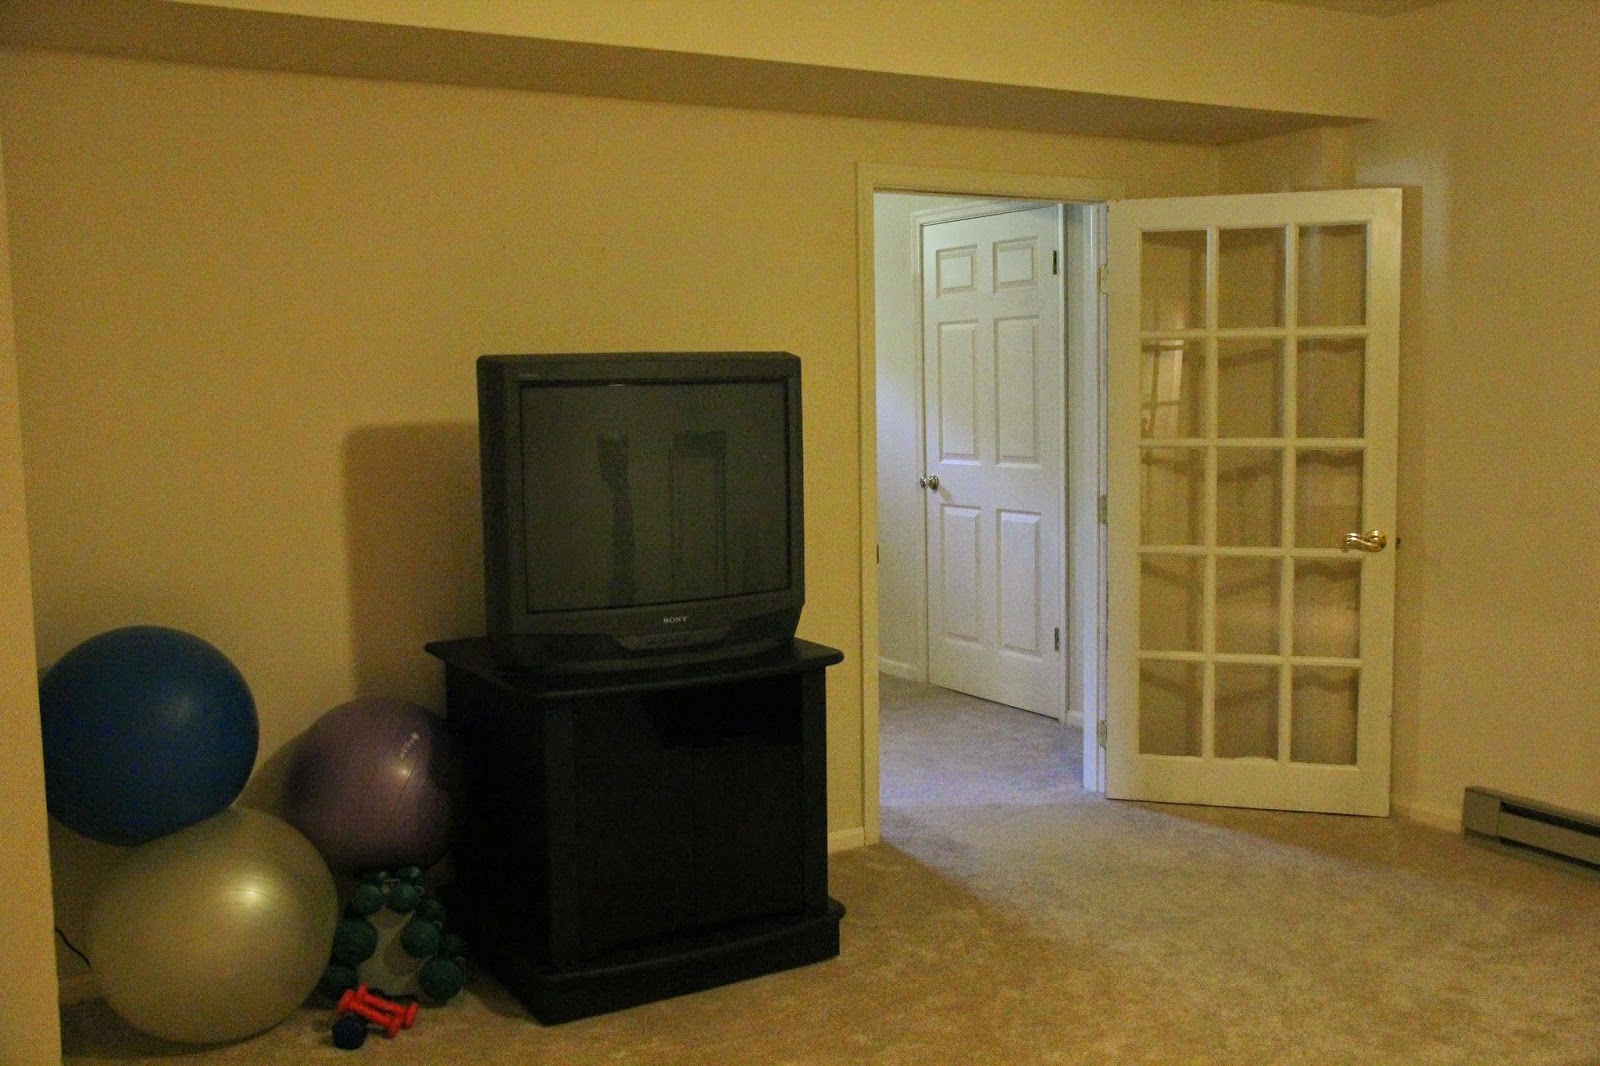
Back to the tour....after you head down the steps in the basement, there is a small landing. To the left, through the french doors is Wes's new man room! He is so excited he can't even stand it!
When you turn right from coming down the steps, its an open area that wraps around to the other side of the basement. A complete blank slate to work with!
To the left of the picture here, is a sliding glass door which leads directly out to the backyard. At the end of the basement here, there is another bathroom, with sink, toilet and stand up shower. The door to the right of the bathroom in the back of the room leads to a decent sized storage area.
Here's a shot of the basement bathroom. Another almost blank slate to work with!
Across from the sink there is a shower. It's hard to see from the picture but there is actually a good size space behind the door here. The seller's have a pretty big cabinet behind the door that prevented the door from opening all the way. So getting rid of that will really help to open up this little room.
And of course a shot of the new man room! It actually has french doors on either side which you can see in the next picture.
I'm a little scared of what might happen to this room!
And now for the super exciting shot of the storage room! Built in shelves that I am sure we will junk up in no time! :)
So there you have it! Like I said, I'm holding my breath that everything works out for both settlements but so far so good. Fingers crossed we will be spending our first night here on Saturday night! The kids are so excited!!






.jpeg)
.jpeg)


.jpeg)